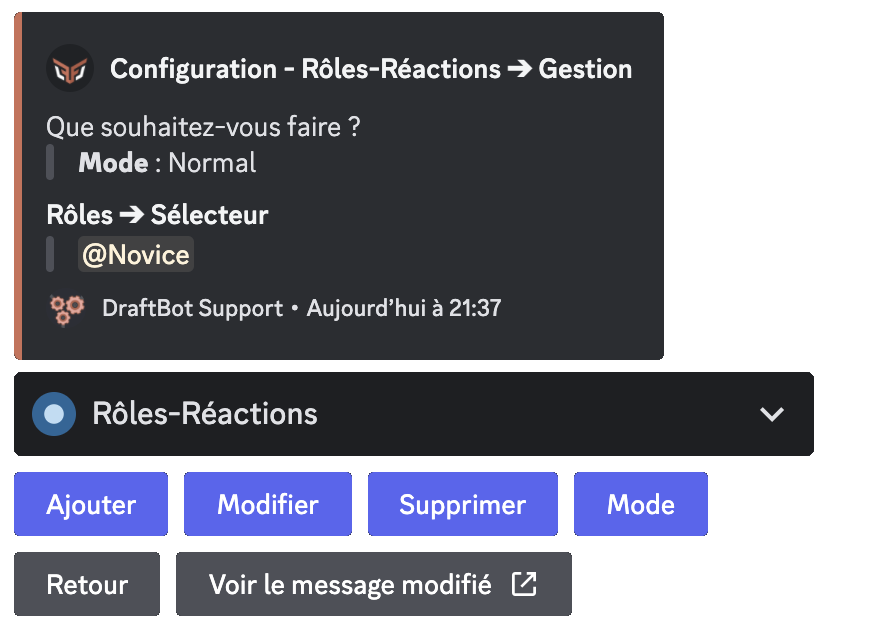
Premium doubles the limit and lets you add up to 20 reaction-roles per message.
Reaction-Roles
With the reaction-roles system, your members can easily pick roles from reactions.
Overview
A message with reaction-roles lets you give your users a message accompanied by reactions they can use to assign roles to themselves.
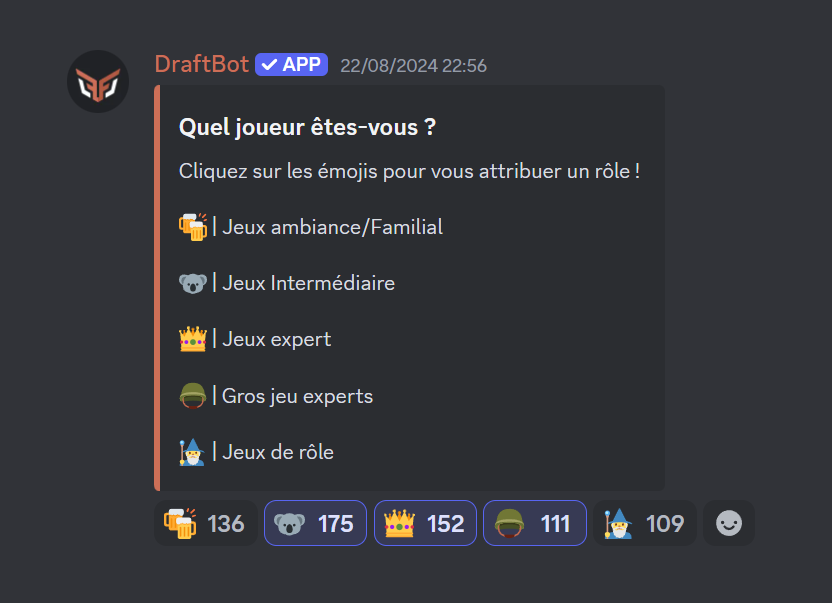
Creating a reaction-role
To configure the reaction-roles system, open the configuration page and select the server you want.
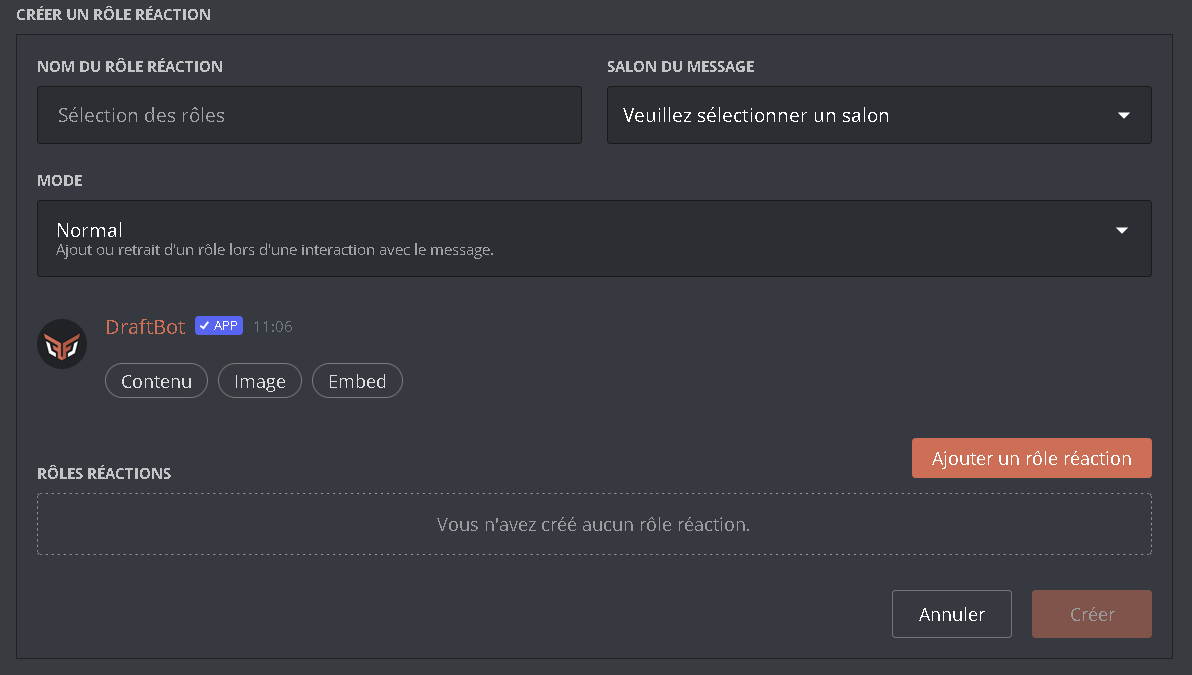
First, select the channel the reaction-role message is sent to, using the selector above the Embed Creator.
Here are the different ways of setting the message members interact with to receive a role:
- By creating a new message and/or an embed with the Embed Creator in the middle of the page.
- By using a DraftBot message created beforehand. To retrieve it, click the "
Retrieve a message" button in the top right corner of the page. Then give the channel the message is in, as well as the ID of the message to retrieve. Then click "Retrieve".
Then add your emoji and role pairings. You can add up to 10 per message.
You can change the message's reaction-role mode with the selector just below the Embed Creator.
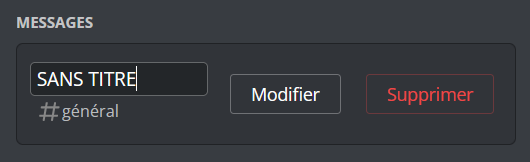
You can name your reaction-roles. To do so, go to the list of existing reaction-roles, then change the name of the reaction-role by clicking "UNNAMED".
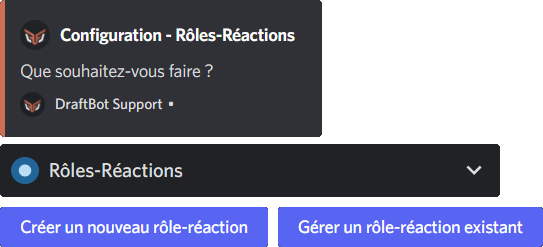

Managing a reaction-role
To manage an existing reaction-role, first open the panel through the link above, then the "Reaction-Roles" section.
On the right of the page, you will find the list of every reaction-role existing on the server. To edit one, click "Edit".
You can then edit reaction-roles in different ways:
- By editing the reaction-role's message with the Embed Creator in the middle of the page.
- By changing the reaction-role's mode with the selector just below the Embed Creator.
- By adding, editing or deleting a reaction-role in the section below the mode selector.
Finally, click "Edit": your reaction-role is updated!